Troubleshooting : How to Test a Water Heater Element in 5 Steps
For many of us, water heaters play a pivotal role in our daily routines, from taking hot showers to running laundry and dishwashing cycles. When this essential appliance stops producing hot water, it can cause a significant disruption. A potential culprit behind such an issue could be a faulty water heater element.
In this in-depth guide, we will explore how to identify and resolve issues with your water heater, particularly focusing on testing the water heater element.
Step 1: Preparing for the Task
The first step in any troubleshooting process involves adequate preparation. To test your water heater element, you’ll need to understand its structure and ensure you have the necessary tools ready.
Every water heater comes with an element, a small box linked to electrical wires. It’s usually attached to the heater’s tank with bolts. If you’re struggling to find it, refer to your heater’s technical data sheet.
Gathering Essential Tools
Before you begin, it’s crucial to gather all necessary tools:
- Screwdriver: To remove the metal covers on your water heater, granting you access to the elements.
- Multimeter: A critical instrument for testing both the water heater elements and the thermostat. Ensure it has an ohm setting (the Ω symbol) for resistance measurement.
- Insulated Gloves: These protect your hands when dealing with electrical appliances.
- Eye Protection: To shield your eyes from small debris or dust that may fly up during the process.
- Torch or Flashlight: Depending on your working environment’s lighting, you may need a source of additional light.
Step 2: Power Down Your Water Heater
The safety of you and those around you should be the primary concern when dealing with electrical appliances. Always turn off your water heater at the circuit breaker before starting any work. Remember, the breaker should remain off until you have finished testing and replaced all covers.
Step 3: Access the Elements
Once the power is turned off, you can start accessing the water heater elements. Typically, you’ll find two metal covers on the side of your electric water heater. Use your screwdriver to remove these, revealing insulation that you’ll need to pull out.
Behind the insulation are plastic covers that also need removal to expose the thermostat and heating element.
Step 4: Testing the Heating Elements
With the water heater elements exposed, you can begin the testing process.
Disconnect the Element Wires
Disconnect the two wires connecting each heating element to the heater’s circuitry, taking care not to let them touch each other or any metal parts.
Adjust Your Multimeter
Adjust your multimeter to the ohm setting, which allows you to measure the element’s resistance. A properly functioning element typically registers a resistance between 10 and 30 ohms.
Measure the Resistance
Place the multimeter probes on the heating element screws where you disconnected the wires. If the reading falls outside the 10-30 ohms range or displays an infinity symbol, indicating no continuity, the element is likely defective.
Make sure you test both elements: upper heating element and lower heating element. If only one of the two is working, this means your hot water temperature might be colder than usual.
Step 5: Considering Other Potential Issues
If you’ve followed these steps and your water heater element appears to be functioning correctly, other problems may be at play, such as a faulty thermostat or a dysfunctional upper thermostat.
Thermostat
Test the Thermostat
The water heater’s thermostat, which controls the heating elements, may cause issues if it’s faulty. Similar to the element test, disconnect the wires from the thermostat with the power off and use your multimeter to test for resistance.
Check the Upper Thermostat
The upper thermostat manages the lower thermostat and heating element in many water heaters. A malfunction here could disrupt the power supply to these components, leading to issues with your water heater.
Other Things to Consider
Apart from a faulty heating element or a problematic thermostat, other potential issues that could disrupt your water heater’s performance might include:
- Sediment Buildup: Over time, minerals from the water can settle at the bottom of the tank, forming a layer of sediment. This can insulate the water from the heater’s burner, making it work harder and less efficiently.
- High Water Pressure: If the water pressure in your home is too high, it can cause damage to your water heater and associated plumbing fixtures.
- Corrosion: Corrosion can occur inside the tank due to a reaction between the steel tank, water, and the anode rod, which is designed to attract corrosive elements. If not addressed, this can lead to leaks.
- Faulty Temperature and Pressure Relief Valve (T&P Valve): The T&P valve is designed to release water if the pressure or temperature in the tank becomes too high. If it’s defective, it could cause the tank to explode.
- Leaking Water Supply Lines: Leaks can develop in the pipes supplying water to and from the heater. This could cause a lack of hot water and potential water damage in your home.
- Gas Supply Issues: For gas water heaters, issues could arise from a faulty gas control valve, a blocked vent, or problems with the pilot light.
- Size of the Tank: If your hot water usage has increased due to changes in your household, your current water heater may not have the capacity to meet the demand, and you may need to upgrade to a larger size.
Conclusion
Knowing how to troubleshoot your water heater by testing its element can save you significant time and effort. This knowledge enables you to understand the problem before resorting to professional help, potentially restoring your hot water supply more promptly.
Always prioritize safety when dealing with electrical appliances – always turn off the power before starting any water heater repair process. If you’re unsure about any step, further research or professional guidance is advised.
Regular maintenance and an understanding of your water heater’s functioning can help ensure a consistent supply of hot water for your everyday needs.
DISCLAIMER: The information provided is for general DIY guidance on water heater maintenance and does not replace professional advice or service. Risks include electric shocks, burns, and property damage. Prioritize safety, follow manufacturer’s guidelines, and consult with professionals if unsure. Comply with local laws and obtain necessary permits. Use this information at your own risk; the provider assumes no liability for any injuries or damages. If in doubt, hire a professional.
Blog
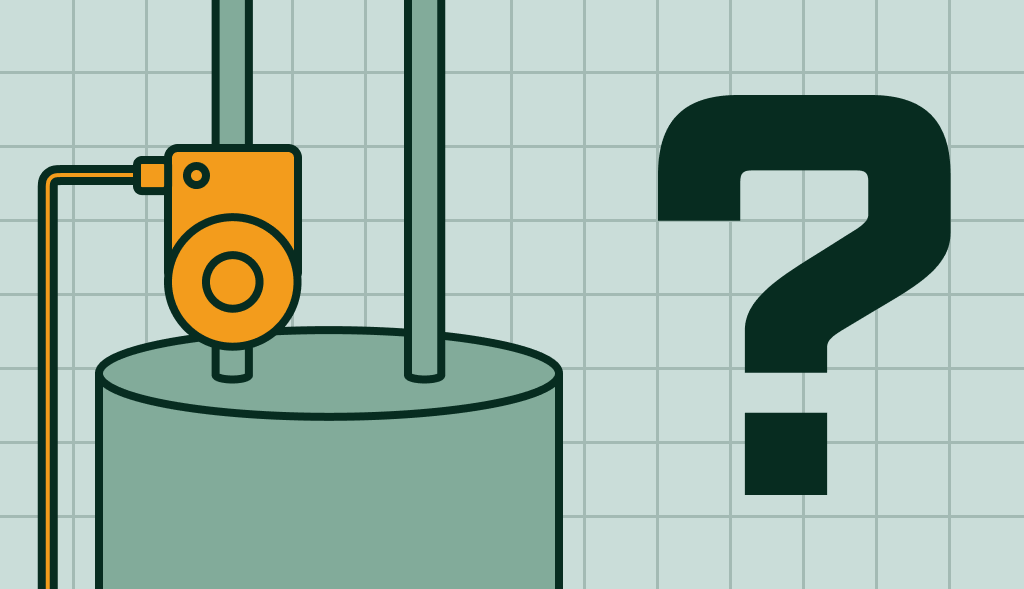
Water Heater Recirculating Pump : Why And How Does It Work?
What is a Hot Water Recirculating Pump and How Does It Benefit Your Home? Every homeowner knows the inconvenience of waiting for hot water to […]
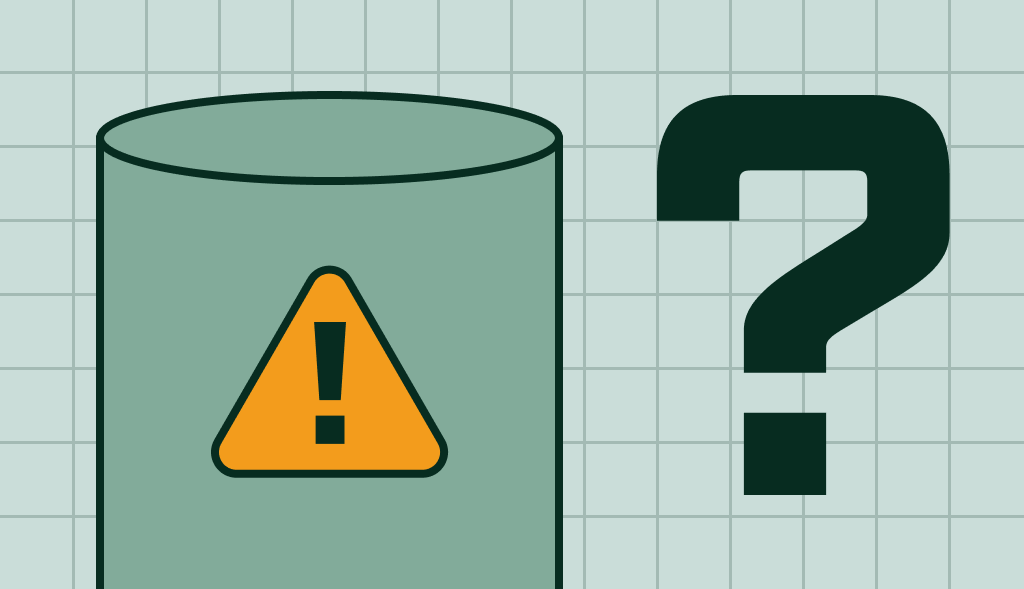
Troubleshooting: Why Your Hot Water Heater Is Not Working
When you want a warm bath or shower but only get cold water, it can be really annoying. If your hot water heater isn’t working, […]