Guide on How to Change Pressure Relief Valve on Water Heater
Do you need to change the pressure relief valve on your hot water heater? If your valve is leaking or the water heater pressure relief isn’t functioning properly, it’s important to take action quickly. This comprehensive guide will provide you with all the steps needed for changing a pressure relief valve, ensuring your water heater operates safely and effectively.
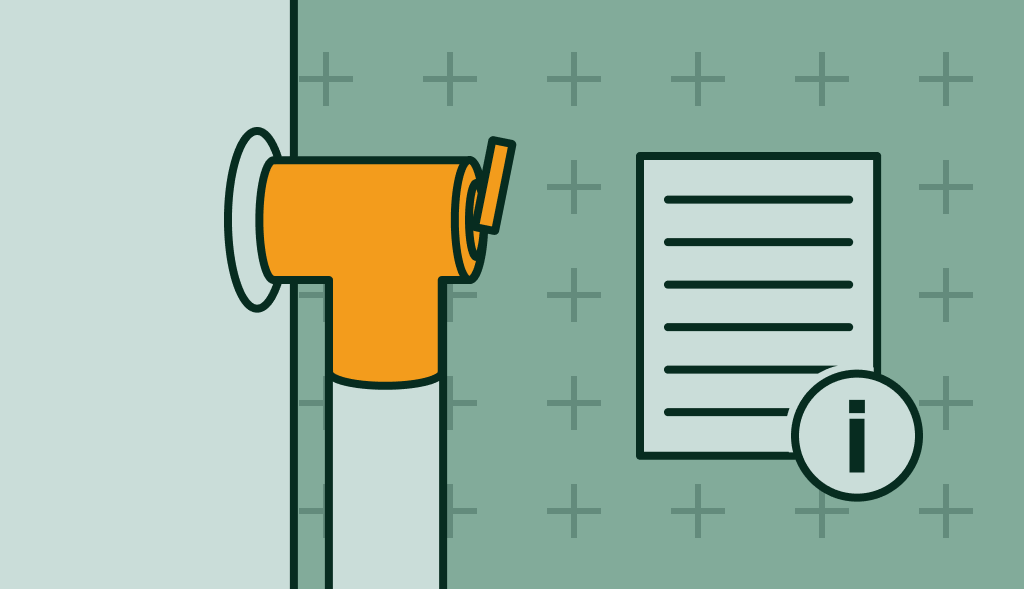
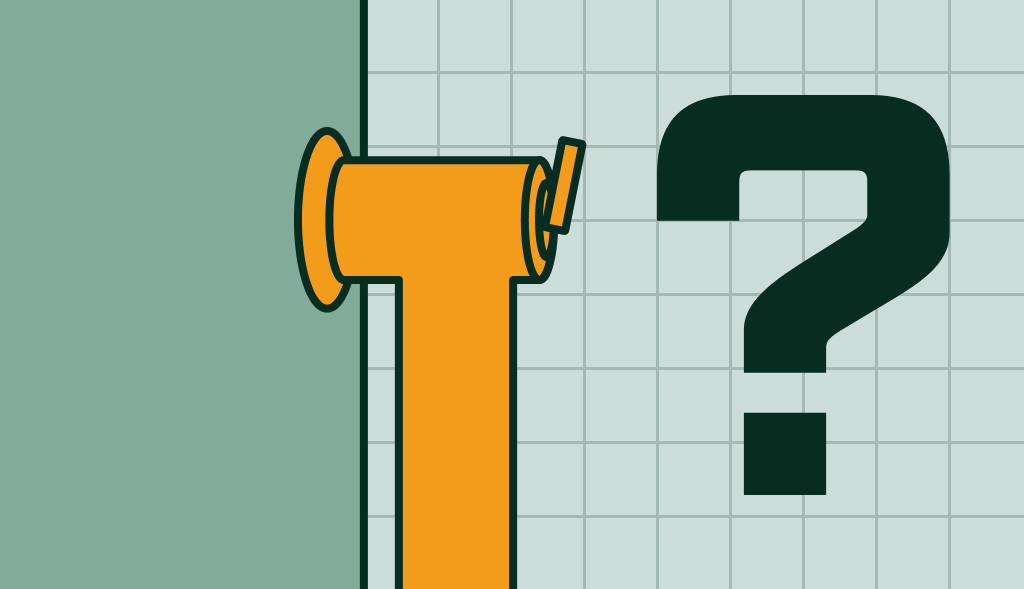
What is a T&P Relief Valve and Why Change It?
The Temperature and Pressure Relief Valve, or T&P relief valve, is a critical safety device on your hot water tank. When the temperature and pressure within the tank exceed safe levels, the T&P valve releases the excess water pressure, preventing potential disasters like explosions.
However, over time, the T&P valve may wear out or become faulty, resulting in leaks or an inability to release pressure properly. Replacing the valve when it shows signs of failure is crucial for maintaining the safe operation of your water heater.
Materials Needed to Change Pressure Relief Valve on Hot Water Heater
Before you start, gather the following items:
- A new pressure relief valve (rated for your water heater, usually around 150 psi)
- A garden hose
- Teflon tape
- Wrench
- Bucket
Step-By-Step Guide: How to Change Pressure Relief Valve on Water Heater
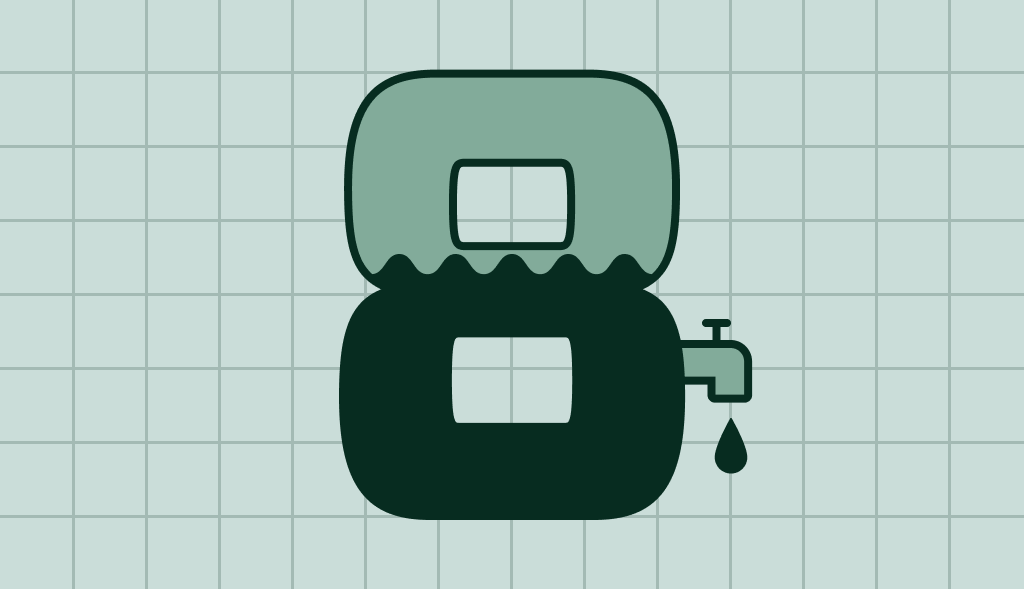
Step 1: Turn Off the Water Heater and Drain the Tank
First, switch off the power supply to the water heater. For electric heaters, you can turn it off at the breaker box. For gas heaters, turn the thermostat to the “pilot” setting. Then, shut off the cold water inlet valve to stop water from flowing into the tank.
Connect a garden hose to the drain valve located at the bottom of the water heater. Lead the other end of the hose outside or into a bucket. Open the hot water faucet in a nearby sink to allow air into the system, which will help the tank drain faster.
Step 2: Remove the Old T&P Relief Valve
Once the water level is below the T&P valve, you can remove it. Using a wrench, carefully unscrew the valve counterclockwise. Be cautious, as some water may still come out.
Step 3: Install the New Pressure Relief Valve
Before installing the new T&P valve, wrap the threads with Teflon tape to ensure a tight seal. Insert the new valve into the opening and screw the valve clockwise until it’s secure. Make sure the valve’s outlet is pointing downward.
Step 4: Refill the Water Heater
Close the drain valve and remove the garden hose. Open the cold water inlet valve to refill the tank. Keep the hot water faucet open until water flows out, indicating that the tank is full. This will also help expel any trapped air.
Step 5: Restore Power to the Water Heater
Once the hot water tank is full, you can turn the power back on. Monitor the T&P valve for any leaks. If no water is leaking from the valve, congratulations, you’ve successfully changed the pressure relief valve on your water heater!
Buy High Quality T&P Valve
If you’re on the market for a high-quality replacement for your water heater pressure relief valve, we’ve done the research for you. Check out this top-rated 150 psi T&P valve that we recommend. Durable, reliable, and easy to install, it’s an ideal choice to ensure your water heater’s optimal performance and longevity.
Maximize Your Maintenance: Upgrade to a Corro-Protec Powered Anode Rod
While the tank is drained, it’s an ideal time to replace the anode rod. The anode rod is a crucial component in preventing corrosion and sediment build-up within your water heater. We highly recommend a Corro-Protec powered anode rod. Unlike traditional anode rods, the Corro-Protec is designed to adapt to your water’s conditions, preventing not just corrosion and sediment, but also the notorious ‘rotten egg’ smell and air in your hot water. It’s an investment that improves the efficiency and extends the life of your water heater.
Final Word
If you’re still experiencing issues after replacing the valve, it might be time to consult a professional plumber.
By taking the time to replace your T&P valve, you’re taking a crucial step in maintaining your water heater’s performance and your home’s safety. Stay tuned for more home maintenance tips and guides from Corro-Protec!
DISCLAIMER: The information provided is for general DIY guidance on water heater maintenance and does not replace professional advice or service. Risks include electric shocks, burns, and property damage. Prioritize safety, follow manufacturer’s guidelines, and consult with professionals if unsure. Comply with local laws and obtain necessary permits. Use this information at your own risk; the provider assumes no liability for any injuries or damages. If in doubt, hire a professional.
Blog
How to Drain a Water Heater – 8 Easy Steps DIY Guide
Water heaters come with a sizeable insulated tank to ensure constant water availability. However, although these appliances are supposed to heat the water and keep […]
Water Heater Pressure Relief Valves: What You Need to Know
Water heater pressure relief valves are essential components that protect your water heater from overheating or overpressurizing. Without them, your water heater could become a […]