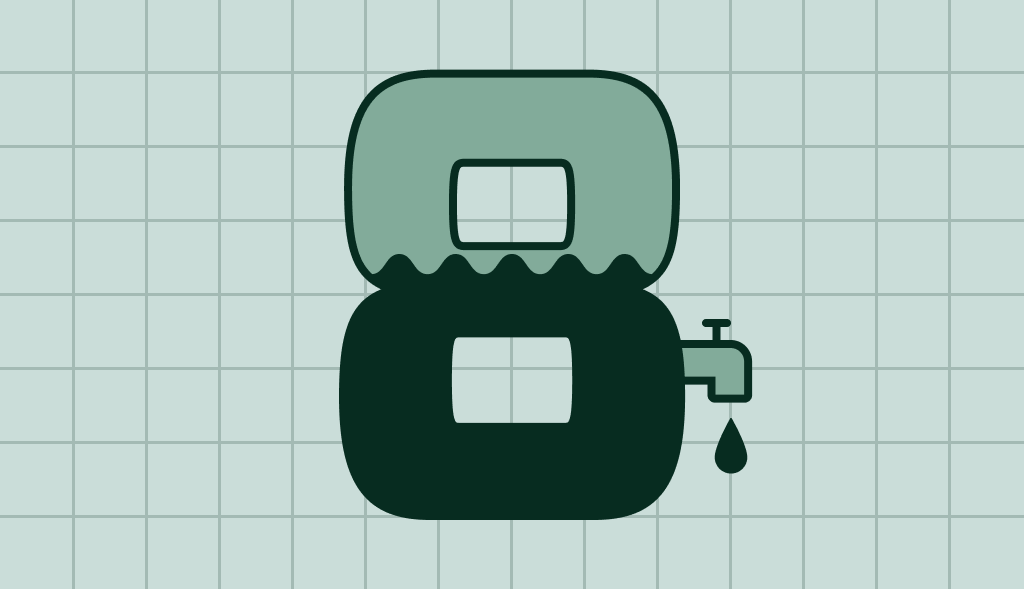
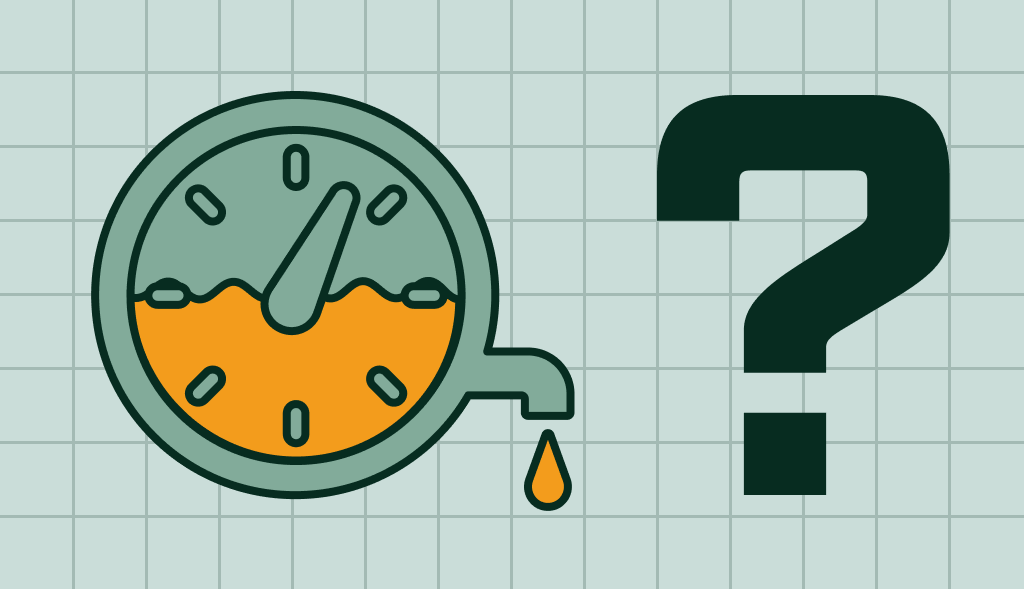
How to Drain a Water Heater – 8 Easy Steps DIY Guide
Water heaters come with a sizeable insulated tank to ensure constant water availability. However, although these appliances are supposed to heat the water and keep it hot for long, their energy efficiency declines with time, especially when not cleaned often.
Most manufacturers encourage users to maintain their water heater tanks by draining them regularly for optimal performance. However, most people don’t know how to drain a water heater.
Why Do You Need to Drain Your Water Heater ?
Regularly draining your water heater can improve its performance and increase its lifespan by preventing sediment accumulation. By draining the hot water heater each year, you will be able to save money by having a much more energy-efficient water heater.
How to Drain a Water Heater Yourself
1. Stop the Water Heater
When you are ready to drain your water heater, the first thing to do is to shut off the power to avoid any injury. Turn the heater off regardless of whether it’s a gas or electric water heater.
For a gas water heater, simply shut off the gas.
If it’s an electric heater, turn off the power (circuit breaker).
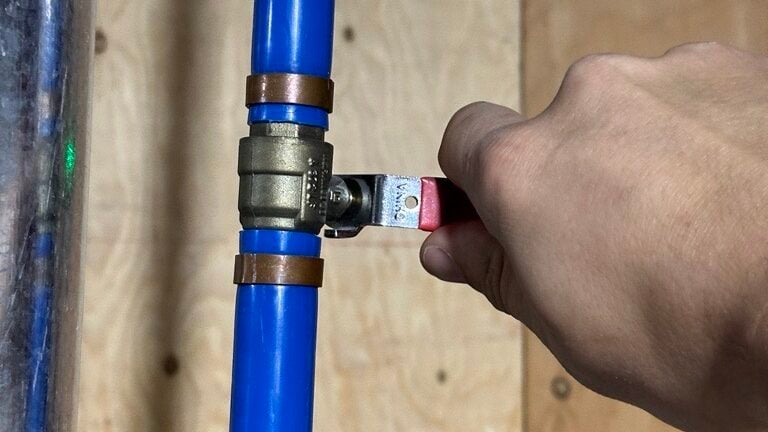
2. Stop Water Supply
Turn off the water supply by turning off the cold water supply valve.
3. Let the Water Cool Down
We suggest waiting for one or two hours to let the water cool down. This will avoid heat injuries.
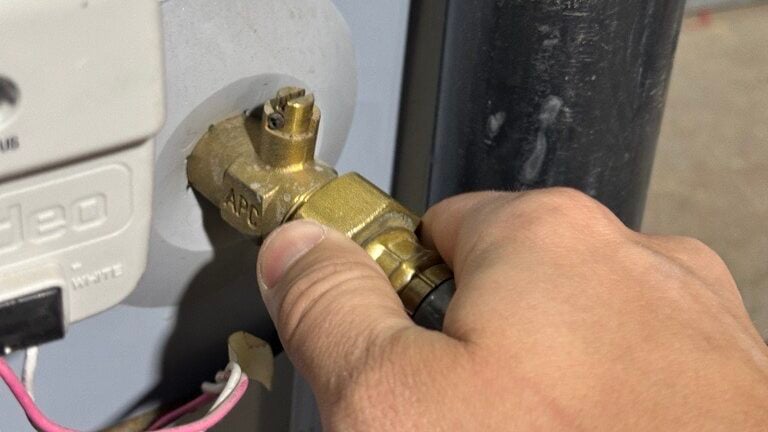
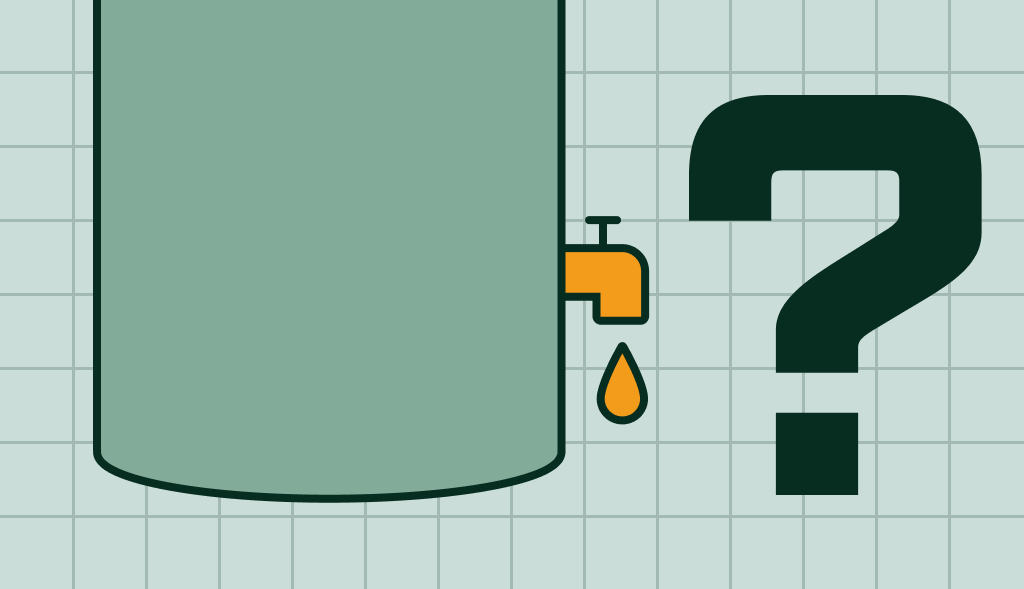
4. Connect the Hose on the Drain Valve
Identify where you want to drain your water and connect the drain valve to a standard garden hose. Thread the hose tightly to avoid leaks. You can drain the water into the floor drain, a container, driveway or the sewer line. Easiest way is to use a garden hose to the drain valve.
5. Open the Faucet
A vacuum may form within the pipes during the flushing process. You can stop this by turning on the hot water tap.
Don’t get worried when you notice the water coming out is little. That’s because there’s no supply. Opening the hot water faucet allows to drain the water heater faster.
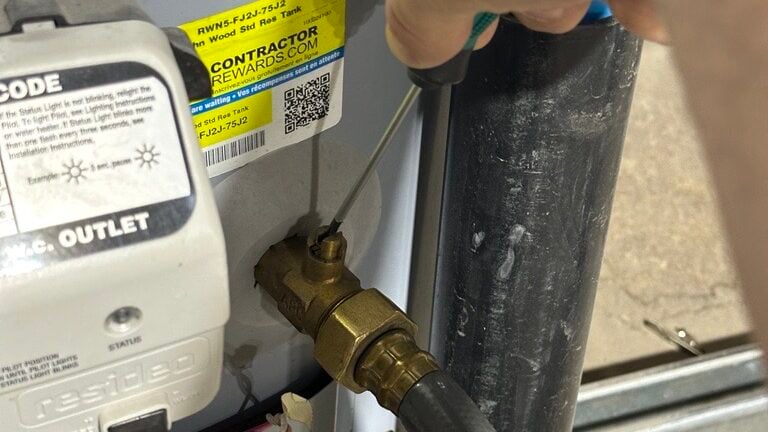
6. Turn On the Drain Valve
Empty the tank by opening the drain valve. You can use a screwdriver to operate the valve. Avoid any leaks or overflows as they may flood the room. Let the tank drain the dirt.
7. Flush the Tank
After couple minutes, If the water coming out isn’t clean is because of the amount of sediment in your tank. You’ll need to let in more cold water to stir up the remaining dirt. Keep the water flowing in and draining the tank until there’s no more sediment left. When the water coming from the water heater drain valve is finally clear, this means the tank is empty from sediments.
8. Refill the Water Heater
Make sure the close the drain valve. Remove the hose from the drain valve and fill the water heater with clean water. Check if there are any water leaks and correct the situation if you find any.
When the tank is full, you can turn on the power.
How To Prevent Sediment Build-Up in Your Water Heater
Installing a Corro-Protec anode will reduce sediment buildup inside the tank and will completely stops corrosion. This will increase the life of your tank, avoid water heater leaking and reduce the maintenance. This is the best and cheapest home improvement DIY you can do on your water heater to save money.
The water heater dip tube also helps you drain the sediment out of your tank. Make sure to let some cold water in during the draining process so the sediment can be removed.
When Do You Need To Drain Your Water Heater
Proper maintenance will expand the water heater life expectancy. The heat produced by these machines is responsible for the accumulation of dirt in the tank’s base (sediment buildup). The performance of your heating machine may deteriorate if you fail to clean it to remove the sediments.
Plus, a poorly serviced water heater will consume more power than a clean one. Now that you know how to drain a water heater, you should do it every year.
DISCLAIMER: The information provided is for general DIY guidance on water heater maintenance and does not replace professional advice or service. Risks include electric shocks, burns, and property damage. Prioritize safety, follow manufacturer’s guidelines, and consult with professionals if unsure. Comply with local laws and obtain necessary permits. Use this information at your own risk; the provider assumes no liability for any injuries or damages. If in doubt, hire a professional.
Blog
How Long Does it Take to Drain a Water Heater? Do it Faster!
Cleaning and emptying your water heater is important for its proper functioning. It may not be the first thing you think of when taking care […]
How Often Should You Flush Your Water Heater?
A water heater is a significant investment that serves a vital role in your home. Therefore, ensuring its longevity and efficiency is a key part […]