How to Replace Your Water Heater Drain Valve – A Step-by-Step Guide
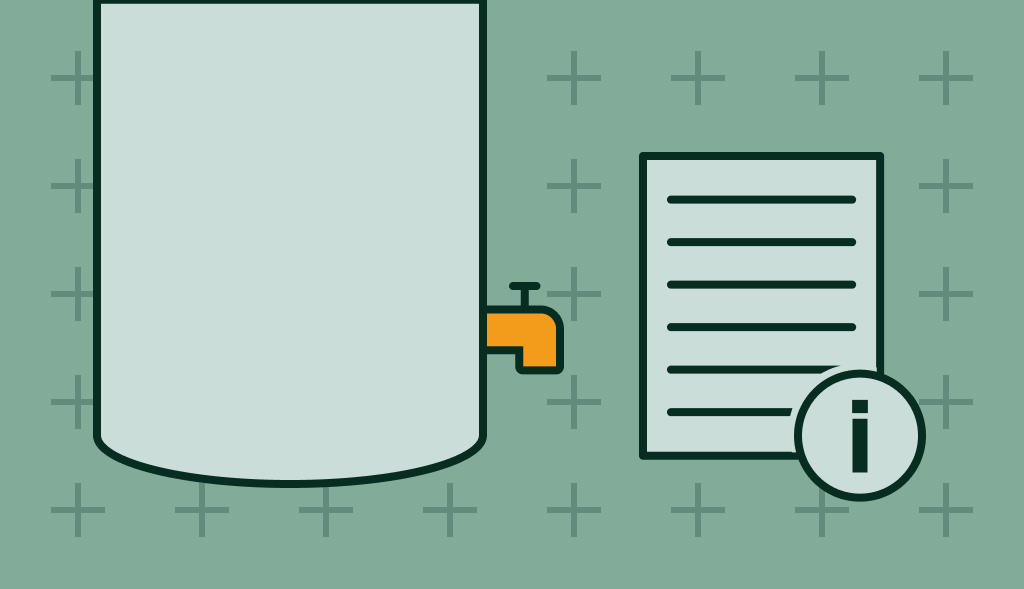
Drain valves in water heaters play a crucial role in its maintenance and longevity. They allow for regular draining, which clears out sediment and mineral buildup, ensuring the efficient functioning of your heater. However, like all parts, these valves may wear out over time, requiring replacement.
In this article, we’ll guide you on how to replace a water heater drain valve, providing tips on why choosing the right replacement, like our Water Heater Flush/Drain Valve, can make a difference in the process and your water heater’s performance.
Materials You’ll Need:
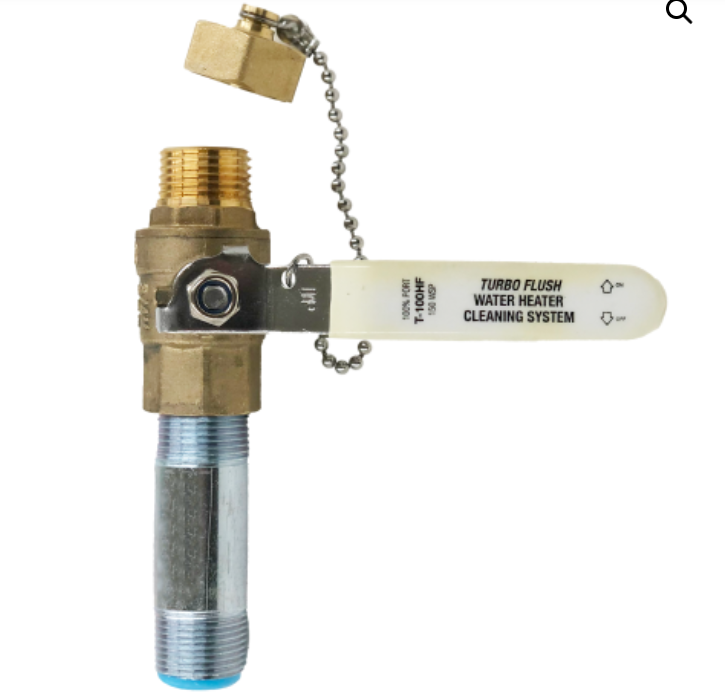
- Replacement Drain Valve (preferably SR121 Water Heater Flush/Drain Valve 3/4″ Full Port Lead Free w/ 3-inch Dielectric Nipple)
- Garden hose
- Adjustable wrench
Step 1: Turn Off the Water and Gas Supply
Before starting, ensure you turn off the water supply to your water heater. If you have a gas water heater, you’ll also need to turn off the gas supply. If you own an electric heater, switch off the breaker.
Step 2: Drain the Tank
- Hook a garden hose to the existing drain valve
- In order to accelerate the process of emptying, open a faucet that dispenses hot water in your residence to introduce air into the system
- Open the drain to release the water out
To speed up the draining process, turn on a hot water faucet in your home to allow air into the system. Please note, the water may be very hot, so take necessary precautions.
Step 3: Remove the Old Drain Valve
Once your water heater is drained, use your adjustable wrench to remove the old drain valve. Be gentle during this process to avoid any damage to your water heater.
Step 4: Install the New Drain Valve
We recommend using our robust and fast-draining SR121 Water Heater Flush/Drain Valve. Its superior design, featuring a wider opening, allows more sediment to come out of the tank than regular smaller drains.
Apply pipe tape to the threads of the new valve, insert it into the tank opening, and use the adjustable wrench to tighten it.
Step 5: Refill the Tank and Turn the Supply Back On
- Close the new drain valve,
- Turn on the cold water supply to refill the tank,
- Let the air escape by opening a hot water faucet in your house
Once the water flows out smoothly from the faucet, close it. Finally, switch on the breaker or turn on the gas supply to restore your water heater’s functionality.
By following these steps, you can easily replace any water heater drain valve. After all, the efficiency of this process and the subsequent operation of your water heater can significantly improve with the right replacement part.
Our SR121 Water Heater Flush/Drain Valve, with its turbo flush capabilities, promises a time-saving and more efficient solution.
Its larger design not only speeds up draining but also ensures more sediment is flushed out of your tank, resulting in a longer-lasting and more efficient water heater.
So, the next time you replace a water heater drain valve, remember that choosing the SR121 Drain Valve can make all the difference!
Blog
Water Heater Recirculating Pump : Why And How Does It Work?
What is a Hot Water Recirculating Pump and How Does It Benefit Your Home? Every homeowner knows the inconvenience of waiting for hot water to […]
Troubleshooting: Why Your Hot Water Heater Is Not Working
When you want a warm bath or shower but only get cold water, it can be really annoying. If your hot water heater isn’t working, […]